
You may find it useful for certain end-users to have access to specific sections within the Phishing Tackle platform, but do not wish to give them full admin access to all areas.
For example, you may want a user to be able to read the results of phishing campaigns, and run reports, but not have the ability to create new campaigns or access the platform settings.
All of this is possible with Role Based Access Control (RBAC). Yes, we are aware that is a bit of a mouthful, so within the platform we use its friendly name "Security Roles". They help you and your organisation follow the principle of least privilege, giving only the necessary access rights to users and no more.
NOTE: There is no benefit to adding security roles to admin users as they already have the highest possible permissions beneath the Primary Admin User
How do Security Roles work?
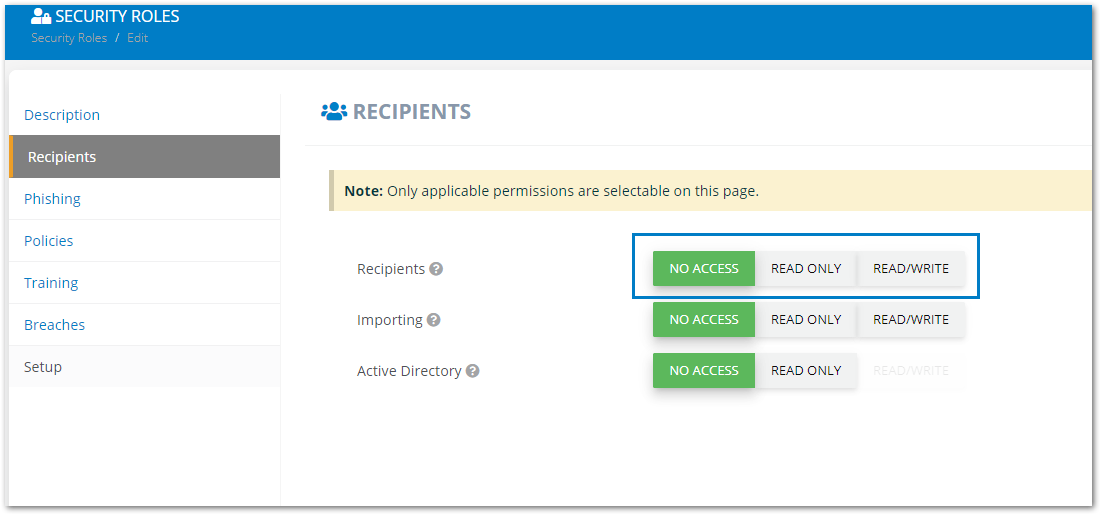
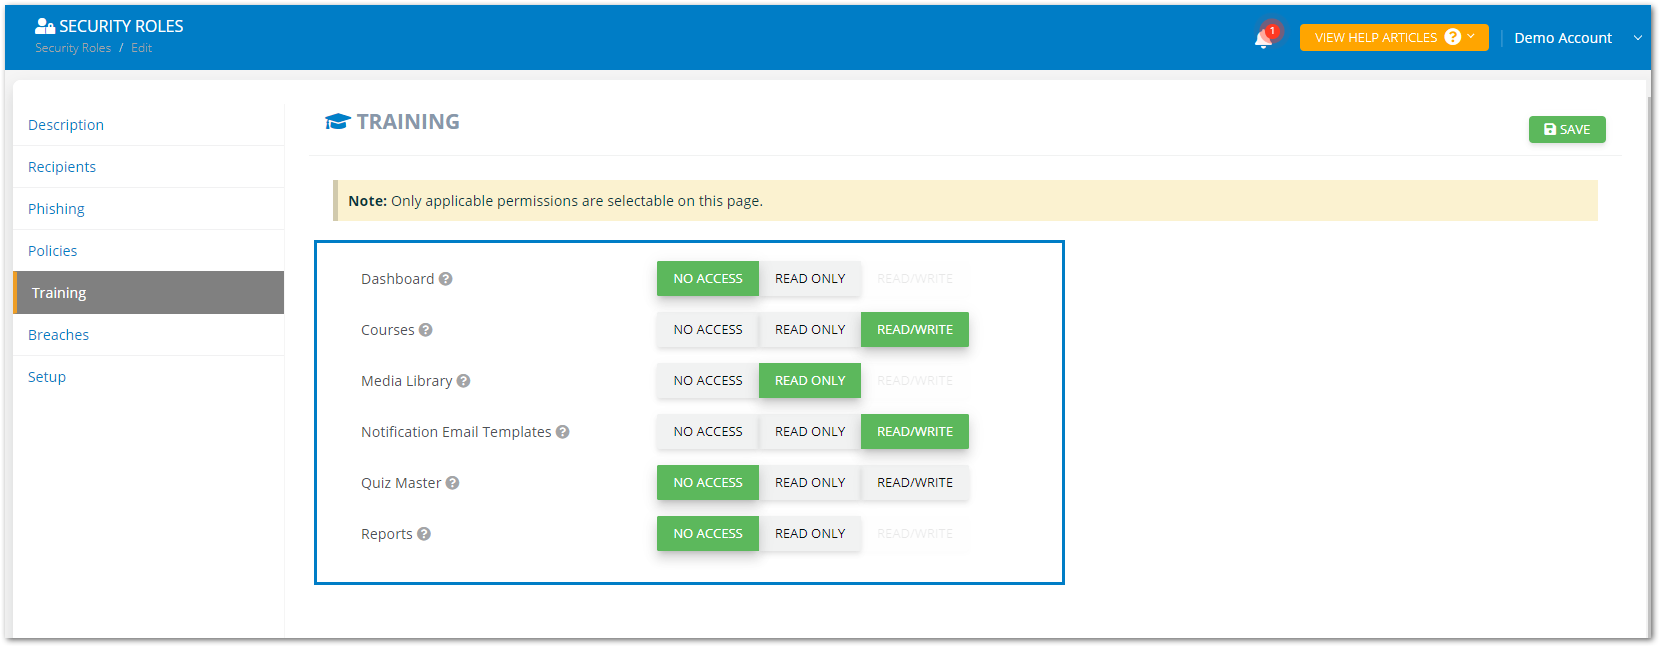
There are 3 levels of access available to end-users: No Access, Read Only, Read/Write
Much like many other elements of the Phishing Tackle experience, security roles are based on tags.
Security Roles are assigned to Tags > Tags are assigned to Users > simple.
End-users can be assigned multiple security role tags, if 2 tags share access permissions to the same role, the highest permission level wins. See example below:
A user is assigned 2 security role tags, both with permissions selected under Recipients.
Security Role 1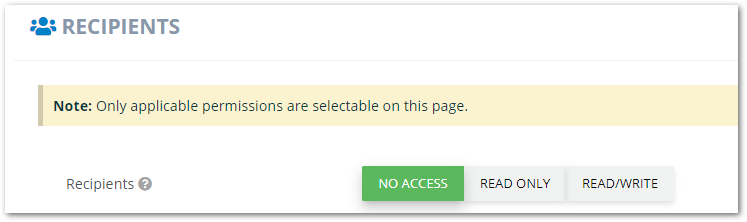
Security Role 2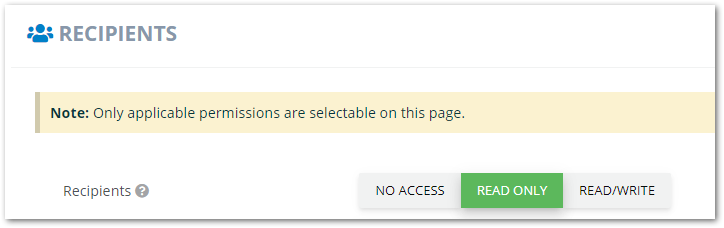
In this case the user will have Read Only access permissions to Recipients as this is the highest level permission of the 2 security roles.
The information below takes you through all aspects of security roles and should leave you with some ideas of how to best implement them within your organisation.
The Security Roles Page
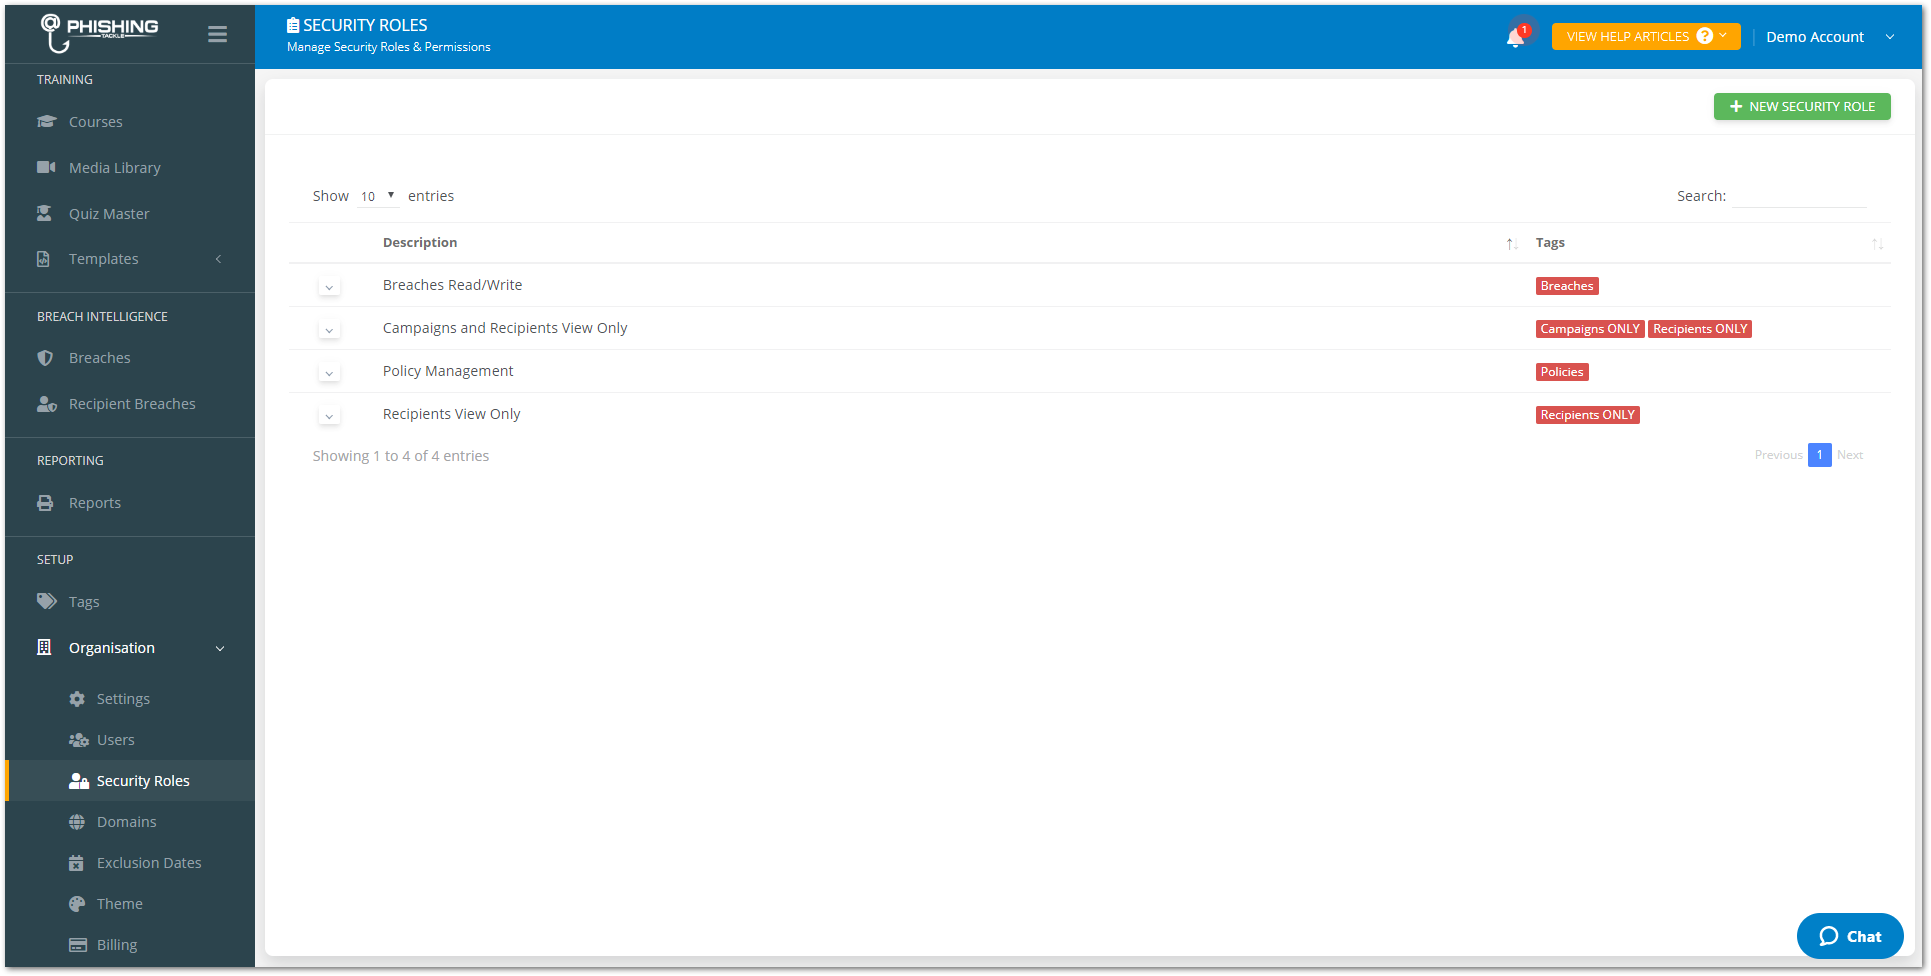
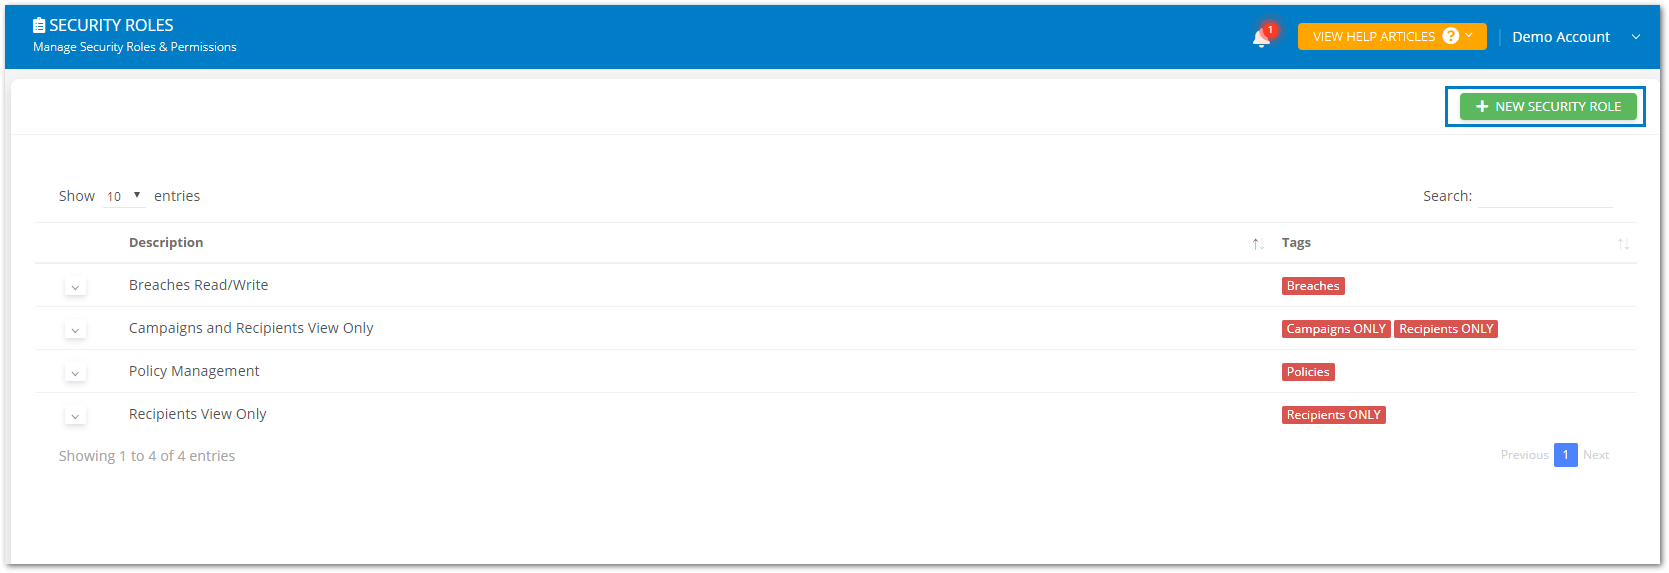
Within the "Security Roles" page found under "SETUP" > "Organisation", users can view, edit and create new security roles, assigning them to any relevant tags.
How to create and assign Security Roles to end-users
NOTE: While any user with the necessary permissions can create security roles, only the Primary Admin User can assign security roles to other users.
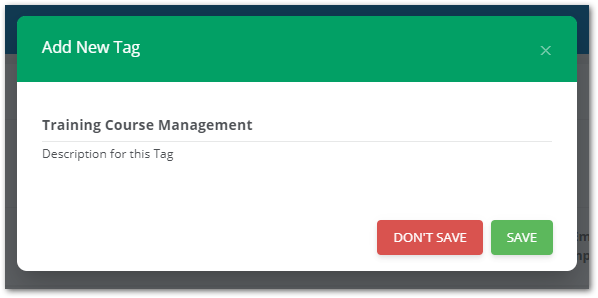
- Create a tag to assign the new security role. (For more information on how to create a tag, see this article)
- From the "Security Roles" page, hit "NEW SECURITY ROLE".
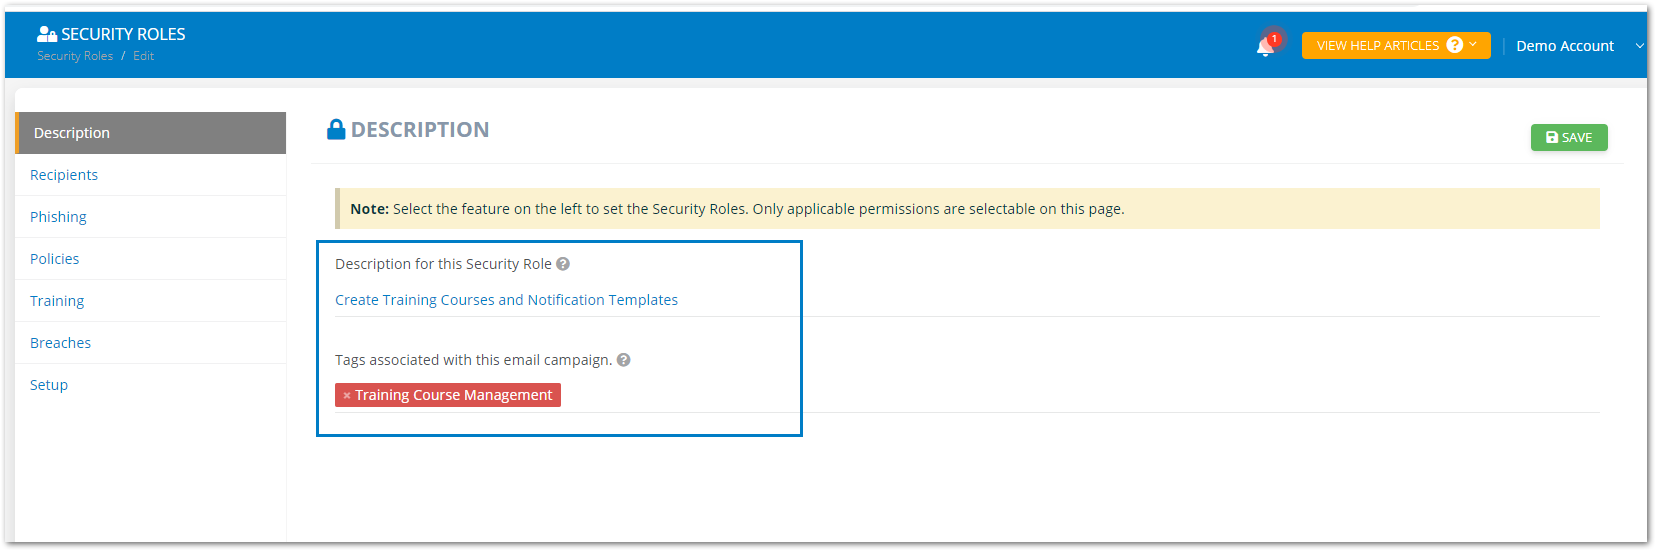
- Give the security role a memorable description and assign it to the relevant tag.
- Select the required permissions for the security role, then hit "SAVE".
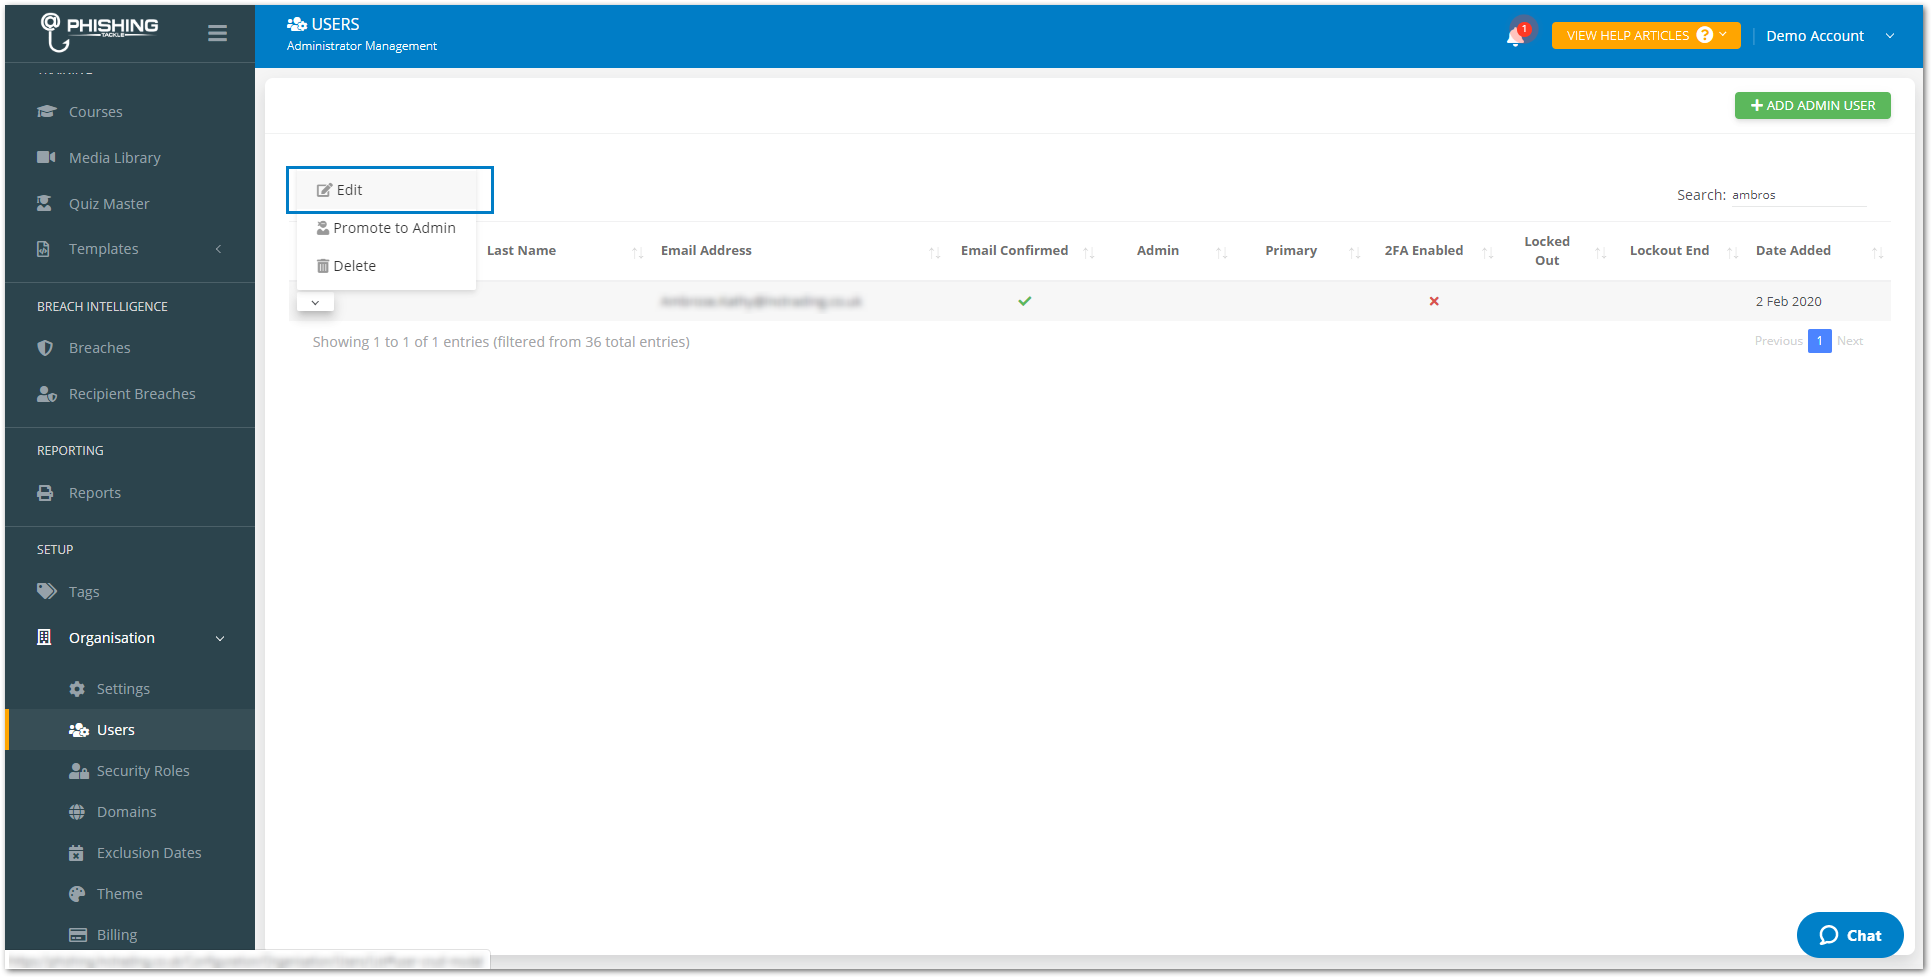
- Go to the "Users" page, find the relevant user and select "Edit" from the drop-down menu.
- Add the tag associated to the security role you'd like to assign to the user.

Security roles are a powerful feature within the Phishing Tackle platform, if you require any further assistance, please contact our support team by clicking here.