
This getting started FAST guide will help you get up and running with PhishNet in the quickest manner possible.
PhishNet provides an efficient platform for evaluating the threat level posed by suspicious emails. This is known as a Security Orchestration, Automation, and Response (SOAR) platform and allows a one-stop-shop to review your suspicious emails.
We'll dive straight into getting your system up and running so you can experience PhishNet for yourself. Each stage of configuration has been outlined below. If you are familiar with PhishNet you can use the links below to skip to the relevant section.
Please Note:
If you are unable to see the PhishNet settings in your account this means your account is not yet enabled for this feature. Please contact your Customer Success Manager or support@phishingtackle.com to enable this feature.
How to get to PhishNet™ (SOAR) settings
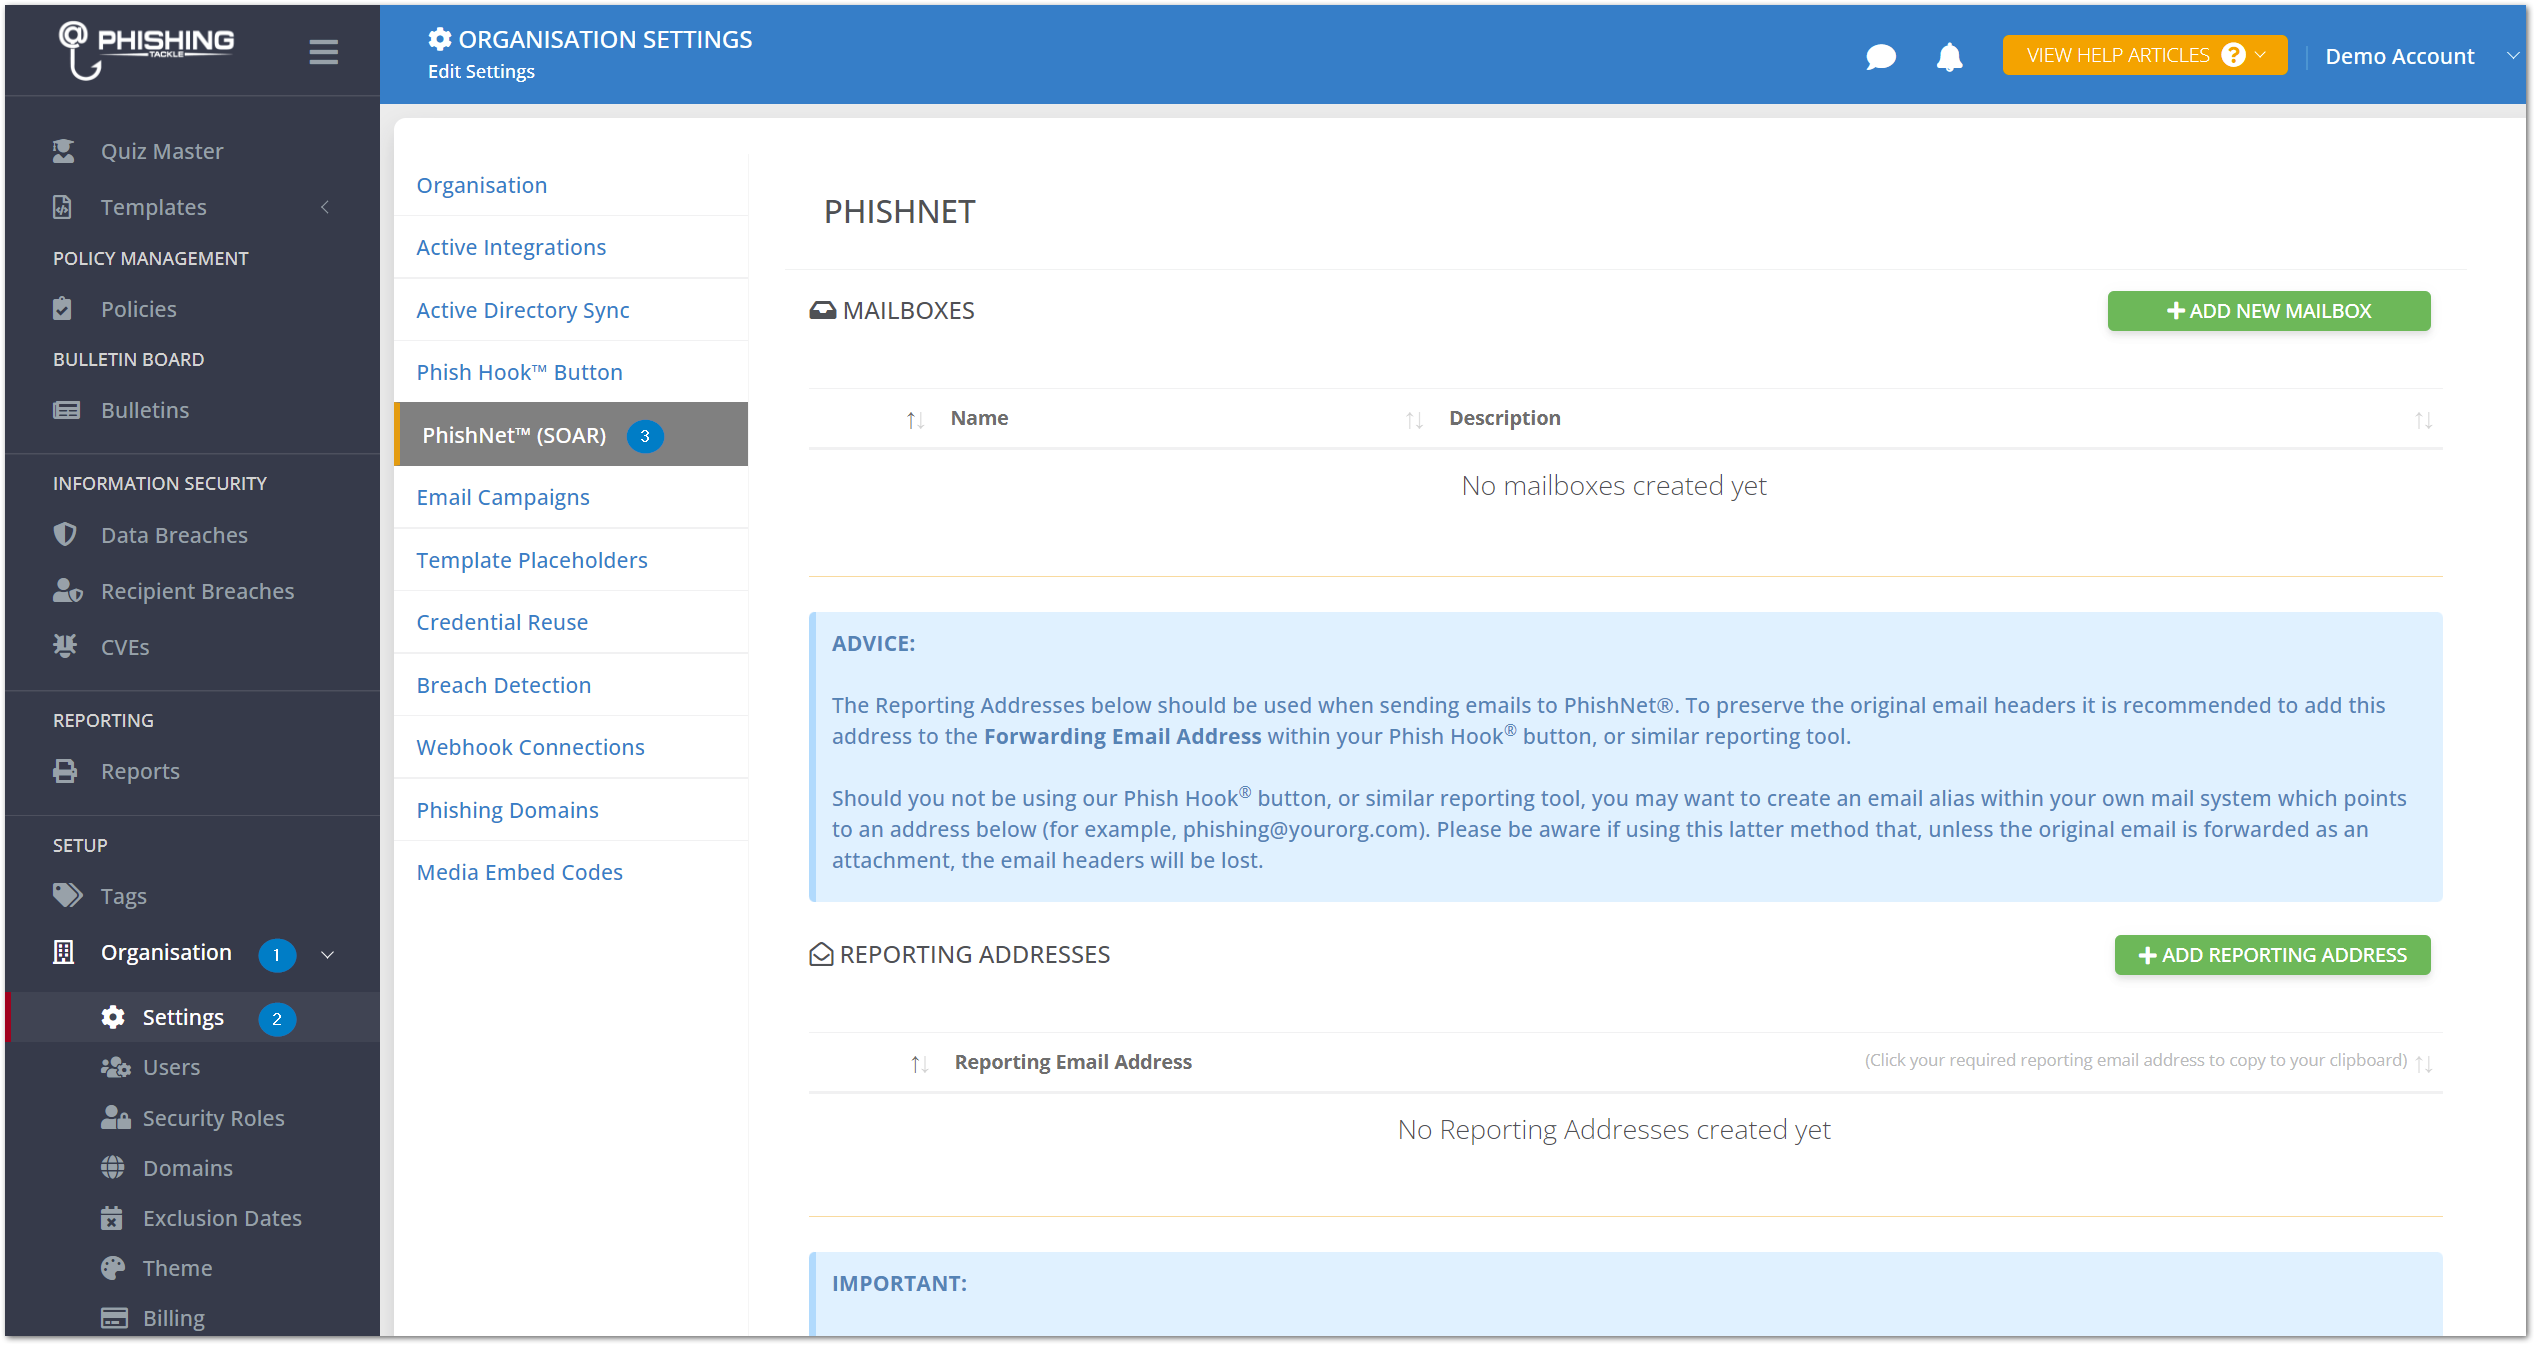
- Click "Organisation".
- Click "Settings".
- Click "PhishNet™ (SOAR)".
How to configure your PhishNet mailbox
Add your PhishNet mailbox to your Phish Hook button settings
For reported emails to land in your PhishNet inbox, you must first add the Reporting Email Address from your PhishNet settings to the list of Forwarding Email Addresses in the Phish Hook button settings.
- Click "Add Reporting Address".
- Next click the long email address under Reporting Email Address. You'll see this copies the address to your clipboard.
- Click the "Phish Hook™ Button" settings and paste the address into the Forwarding Email Addresses... section.
Now, any time one of your users reports a suspicious email using the Phish Hook button, it will automatically forward to the PhishNet inbox!
How to obtain and enter your VirusTotal API key
PhishNet utilises VirusTotal to scan for malware and other suspicious files. To enable scanning, you must obtain and enter a VirusTotal API key, this is free and easy to do. The guide below will take you through the steps of obtaining an API key and how to enter it.
- Sign up for a free VirusTotal account by clicking here.
-
Click your "name" in the right-hand corner.
- Next click "API key".
- Copy your "API key".
- Revisit Phishing Tackle. Under "SETUP" in the left-hand column click "Organisation".
- Click "Settings".
- Click "PhishNet™ (SOAR)".
- On the PhishNet™ (SOAR) settings page scroll down and enter your API key in the field "VirusTotal API Key".
- Enable VirusTotal scanning.
- Enter a VirusTotal Timeout time. We recommend 180 seconds.
- You can automatically scan attachment hashes and URLs (PLEASE NOTE. WE STRONGLY RECOMMEND YOU DO NOT UPLOAD ANY SENSITIVE ATTACHMENTS FOR SCANNING AS THESE WILL BE VISIBLE BY VIRUSTOTAL ENTERPRISE USERS).. Simply select the settings you would like to use.
-
Once you have reviewed your settings click the "Save VirusTotal Details" button.
How to access PhishNet Metrics, Mailboxes, Automation, and Templates
- Under "PHISHNET" in the left-hand column select the category you would like to access.
PhishNet Mailboxes
While using PhishNet suspicious and manually reported messages will be sent to the PhishNet mailbox. You are provided with an inbox and a deleted mailbox to help keep messages organised. Actions and rules can be configured to automatically move messages into their appropriate mailbox.
How to add additional mailboxes
Additional mailboxes can be created for you to use. To add an additional mailbox, go to Setup > Click "Organisation" > Click "Settings" > Click "PhishNet™ (SOAR)" > Click "Add New Mailbox".
-
Refresh Mailbox
- Click refresh to update your mailbox.
-
Status
- The message status icon is red for new messages, yellow for messages in review, and green for resolved messages.
-
Message Details
- Message details provide information about the message and the user who reported the suspicious message.
-
Email preview
- A preview of the reported email is displayed.
-
Attachments
- Information about each attachment inside an email is displayed.
-
Hyperlinks
- The host of each hyperlink and the result of the VirusTotal scan is displayed.
-
Email headers
- The different sections of the email header will be separated into names and values.
-
Raw message
- Raw message displays the entire email header.
-
Automated rules matched
- Automated rules that have been triggered by the message will be shown here.
-
History
- The history of any changes in message properties will be displayed.
-
Message Status
- Message status can be manually changed to new, in review, or resolved.
-
Message category
- Message category can be manually changed to unknown, clean, spam, or threat.
-
Message priority
- Message priority can be manually changed to unknown, low, medium, high, or critical.
-
Message authentication
- The results of authentication checks are displayed for SPF, DKIM, and DMARC
-
Message Tags
- All assigned tags are displayed here.
- You can also add/remove tags manually.
-
Quick steps
- Manually trigger any Quick Step automations (explained in the "automations" section below).
-
Move this message to your deleted mailbox
- The selected message will be deleted and will be moved to the "deleted" mailbox.
How to use PhishNet Automation (Rules and Actions)
Configuring actions and rules will let you automate how messages should be handled. This in turn will allow you to dedicate your time and resources into other important areas.
PhishNet Rule Editor
-
Name of Rule
- Enter a name for your rule.
-
Description
- Enter a description for your rule (descriptive rules are recommended to help aid clarity).
-
Tags to apply if this rule is met
- You can use Phishing Tackle's list of tags or your own custom tags which will be applied when a rule condition is met.
-
Rule Target
- Rules can be applied to any section of an email.
- The options of where a rule can be applied are raw, body, header, or attachment.
-
Rule Editor
- The rule editor allows you to create custom rules.
- The example above will look for the words "pay" and "immediately". If both words are mentioned within the body of email the tag "Scam" will be assigned.
-
Save
- Click save once you have completed your rule.
PhishNet Action Editor
The action editor allows you to decide what happens to messages that meet certain conditions. Messages can be scanned for malware, moved to a different mailbox, forwarded to another user and more.
To get to the PhishNet action editor find "PhishNet" in the (left-hand column) > Click "Automation" > Click "Actions" > Click "Add new action button" (top right-hand corner).
-
Active status
- Each action can be toggled on or off.
-
Name of Rule
- Enter a name for this rule.
-
Description
- Enter a description for your rule (descriptive rules are recommended to help aid clarity).
-
When will this rule be automatically triggered?
- Action triggers can be set to manual, on every message received, messages without a tag or tag criteria.
-
What action would you like to take with this message?
- Message status can be set to new, in review, resolved or don't change.
- Message category can be set to unknown, clean, spam, threat, or don't change.
- Message priority can be set to unknown, low, medium, high, critical, or don't change.
-
What automatic malware scanning would you like to perform?
- Attachment files and hashes can be automatically scanned for malware. (PLEASE NOTE. WE STRONGLY RECOMMEND YOU DO NOT UPLOAD ANY SENSITIVE ATTACHMENTS FOR SCANNING AS THESE WILL BE VISIBLE BY VIRUSTOTAL ENTERPRISE USERS).
- A URL hash can be automatically scanned for malware.
-
Would you like to move this message to a different mailbox?
- Messages can be moved between different mailboxes.
- The mailbox options are inbox, sent, deleted, or don't move.
-
Automatically manage the following tags on this message
- Tags can be automatically added or removed from messages.
-
How would you like to report this message?
- When an action is triggered a custom notification email can be sent to the message reporter and anyone else you would like.
-
Quick Steps can be manually triggered within each message.
- When ticked quick steps will be manually triggered for each message.
-
What would you like to do with further actions?
- When checked any other actions that follow will not be executed.
PhishNet Catch & Release
Catch & Release allows you to sanitise real phishing emails that your organisation has received and convert the email into a template that can be used in a simulated phishing campaign.
Catch & Release will replace all links within a reported email with safe links and will replace common attachment types with safe attachments with the same name (where possible). This section of the knowledge base article will explain how to create a Catch & Release Quick Step.
How to configure a catch & Release Quick Step
- Under "PHISHNET" in the left-hand column click "Automation".
- Click "Actions".
- Click "ADD NEW ACTION".
- Enable "Active status".
- Enter a name for the rule. We recommend "Catch & Release".
- Enter a description for the rule. We recommend "Convert email in PhishNet mailbox to a phishing email template.".
- For the setting "When will this rule be automatically triggered" select "Manually triggered only".
- The setting "What action would you like to take with this message?" can be left as the default values.
- The first section of settings should look like the image below.
- The settings in "What automatic malware scanning would you like to perform?" can be left as the default values.
- The setting in "Would you like to move this message to a different mailbox?" can be left as the default value.
- Click the drop-down arrow next to "Email Template Library" and select "ADD TO LIBRARY".
-
When the "Catch & Release" Quick Step is used the email template will use the values you have set in these fields.
- The settings in "Automatically manage the following tags on this message" can be left as the default values.
- The settings in "How would you like to report this message?" can be left as the default values.
- Under the setting "Quick Steps can be manually triggered within each message." click "Add to Quick Steps".
- Select a "for your Quick Step.
- The setting "How would you like to report this message?" can be left as the default value.
- Click "SAVE THIS ACTION".
How to use the catch & Release Quick Step
Now that you have configured a Catch & Release Quick Step you can simply select the Quick Step in your PhishNet Mailbox to create a new template.
- In your PhishNet Mailbox click the "Catch & Release" Quick Step.
- The emails that you have used the "Catch & Release" Quick Step on will be added to your phishing email templates. You can click the "Edit Template" button to make changes to the template.
- An example of a "Catch & Release" template is displayed below. We recommend carefully reviewing the template and sending yourself a test email before sending the template to your users to ensure it meets with your requirements.
If you need any help with getting PhishNet configured or have any questions, please contact the support team by clicking here.