
Previous step: Step 5 - Choose a Landing Page Template
Create a Campaign
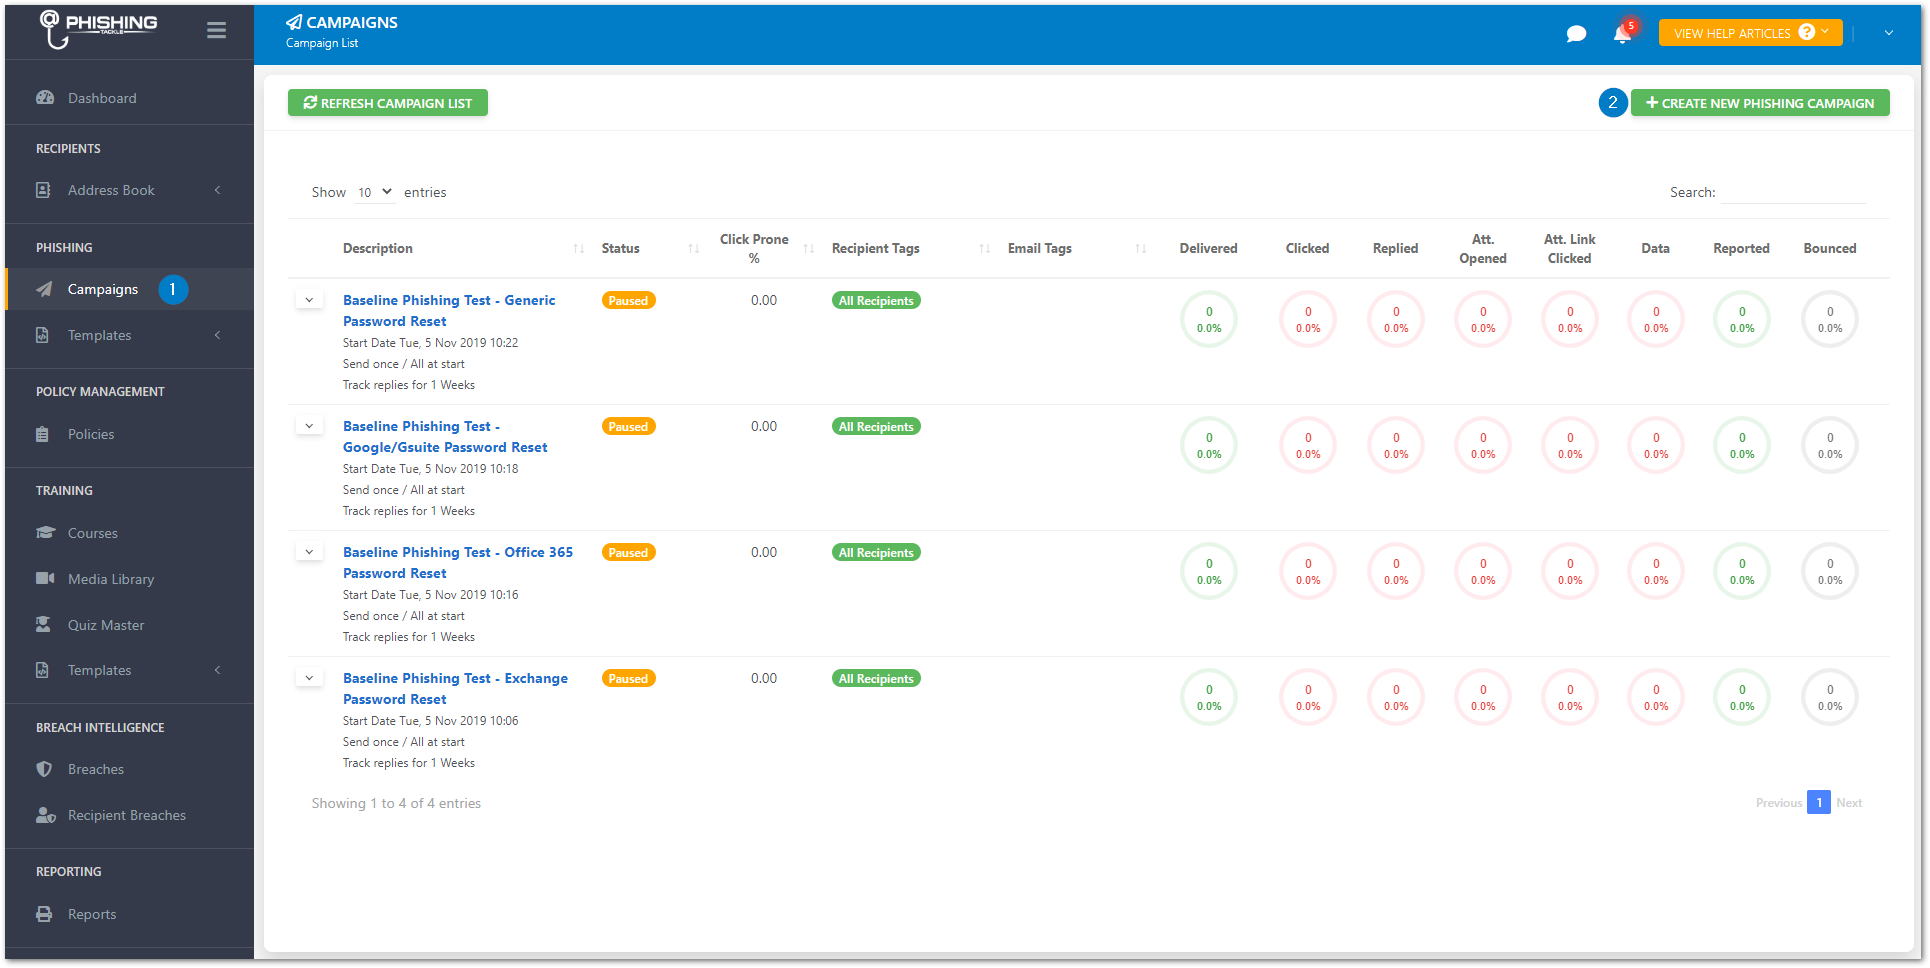
- Click "Campaigns" under "PHISHING" on the main menu
- You'll notice that there are several pre-made campaigns. You can simply click the dropdown menu to the left of one of these and hit "Unpause" if you'd like to use a generic baseline test to all recipients. For this example we will create a new campaign from scratch.
- Click "CREATE NEW CAMPAIGN"
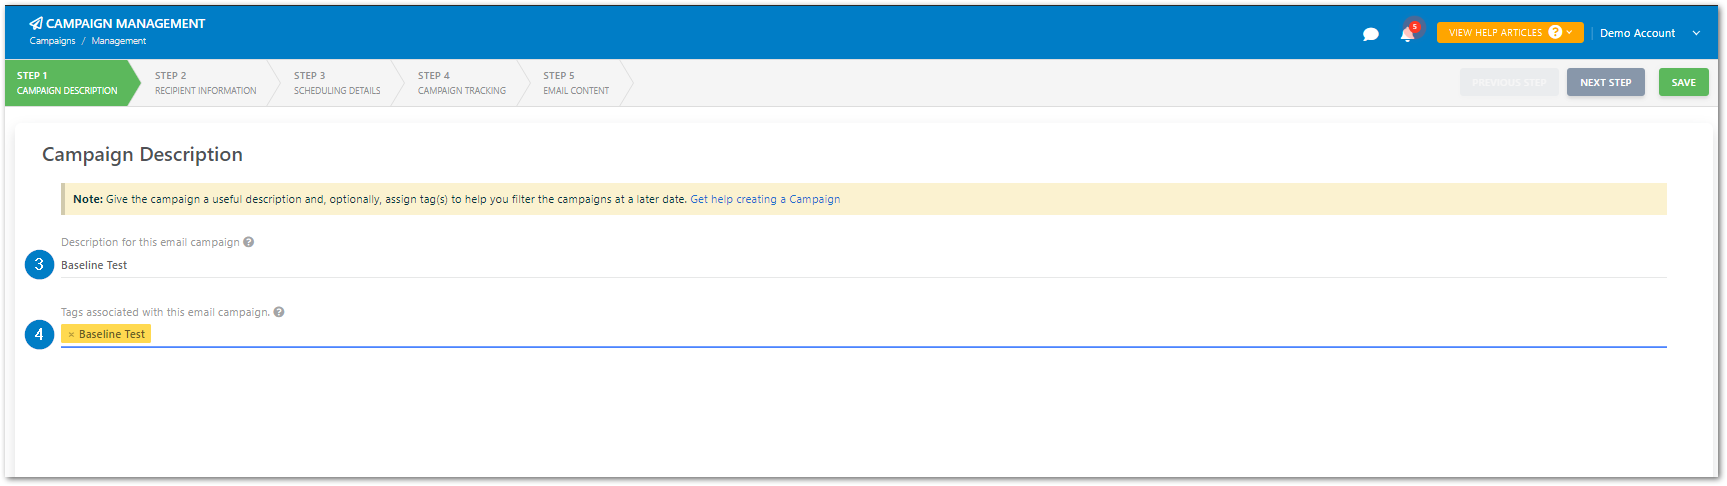
- Call it "Baseline Test"
- Assign it the Tag "Baseline Test"

- Select the "No Training" Tag to send to
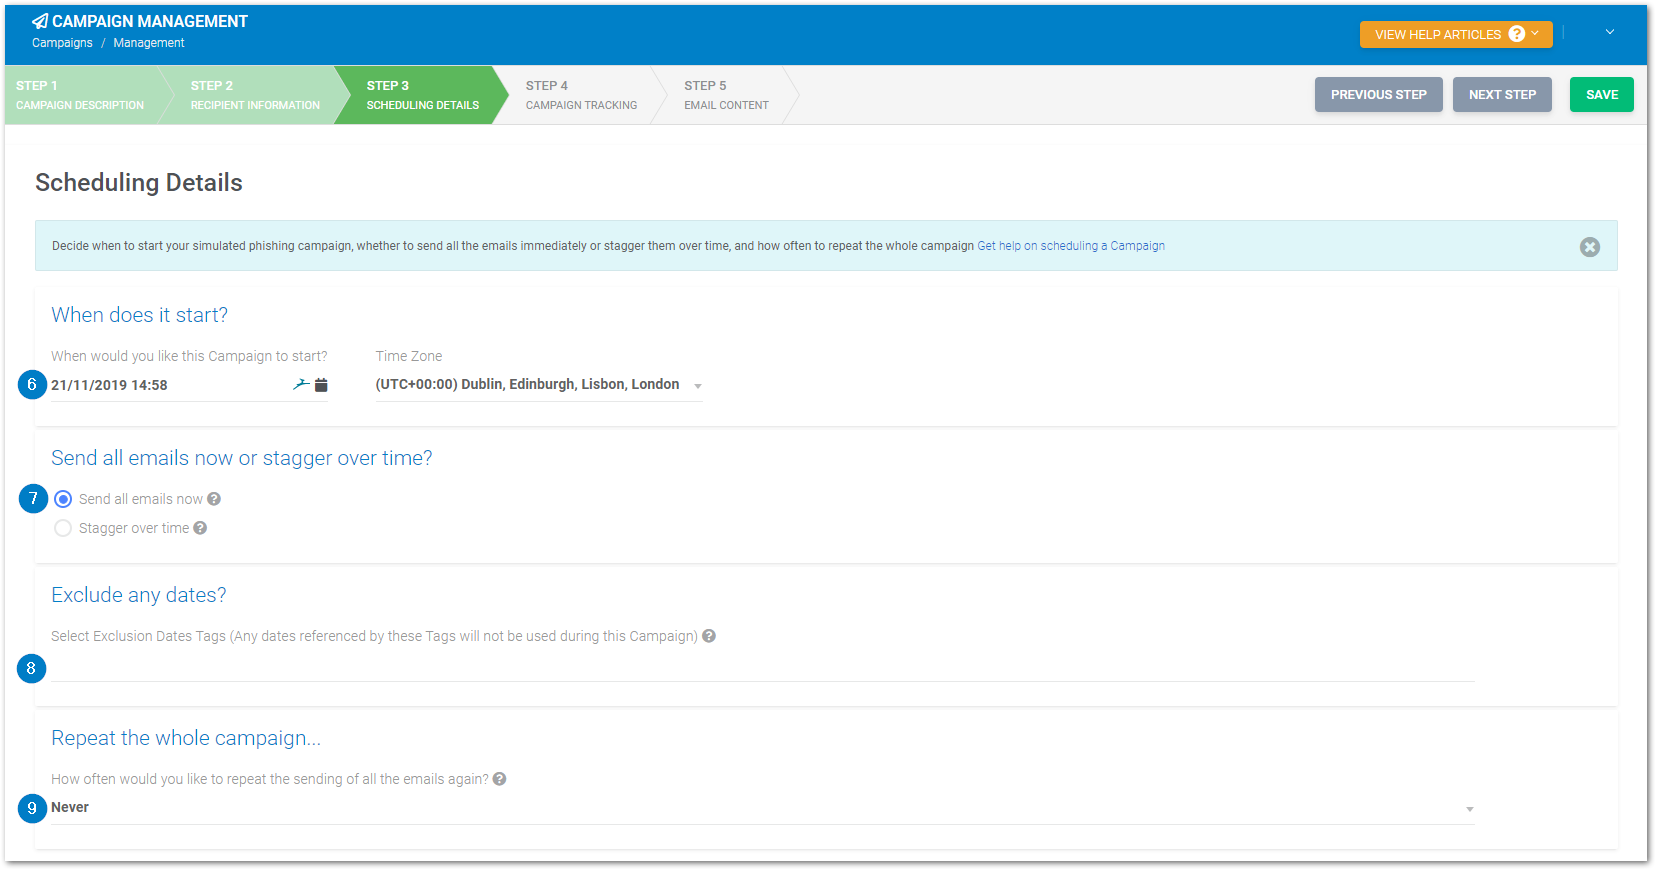
- Choose a date/time and Time Zone to start the Campaign
- All Campaigns will default to the current time and the Time Zone set within the organisation settings
- Select Send all emails now
- Leave blank the exclusion Date Tags box
- Select Never to repeat the emails
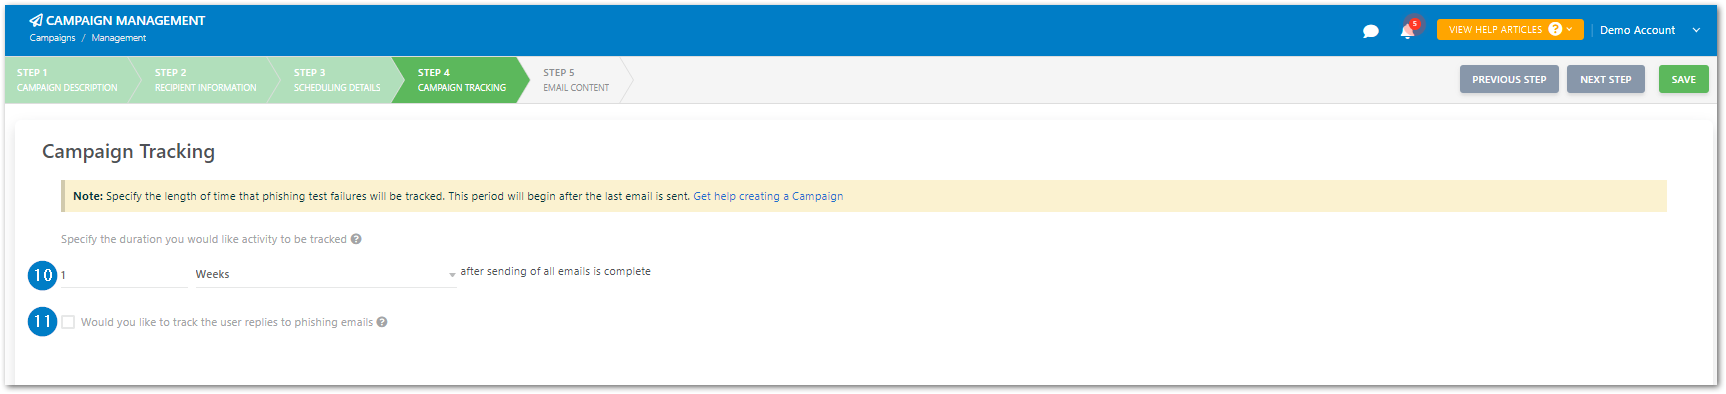
- Select 1 Week to track the Campaign for (this is the default setting for new Campaigns)
- Leave blank "Track user replies" (this is useful though we will not need it for the Baseline Test)
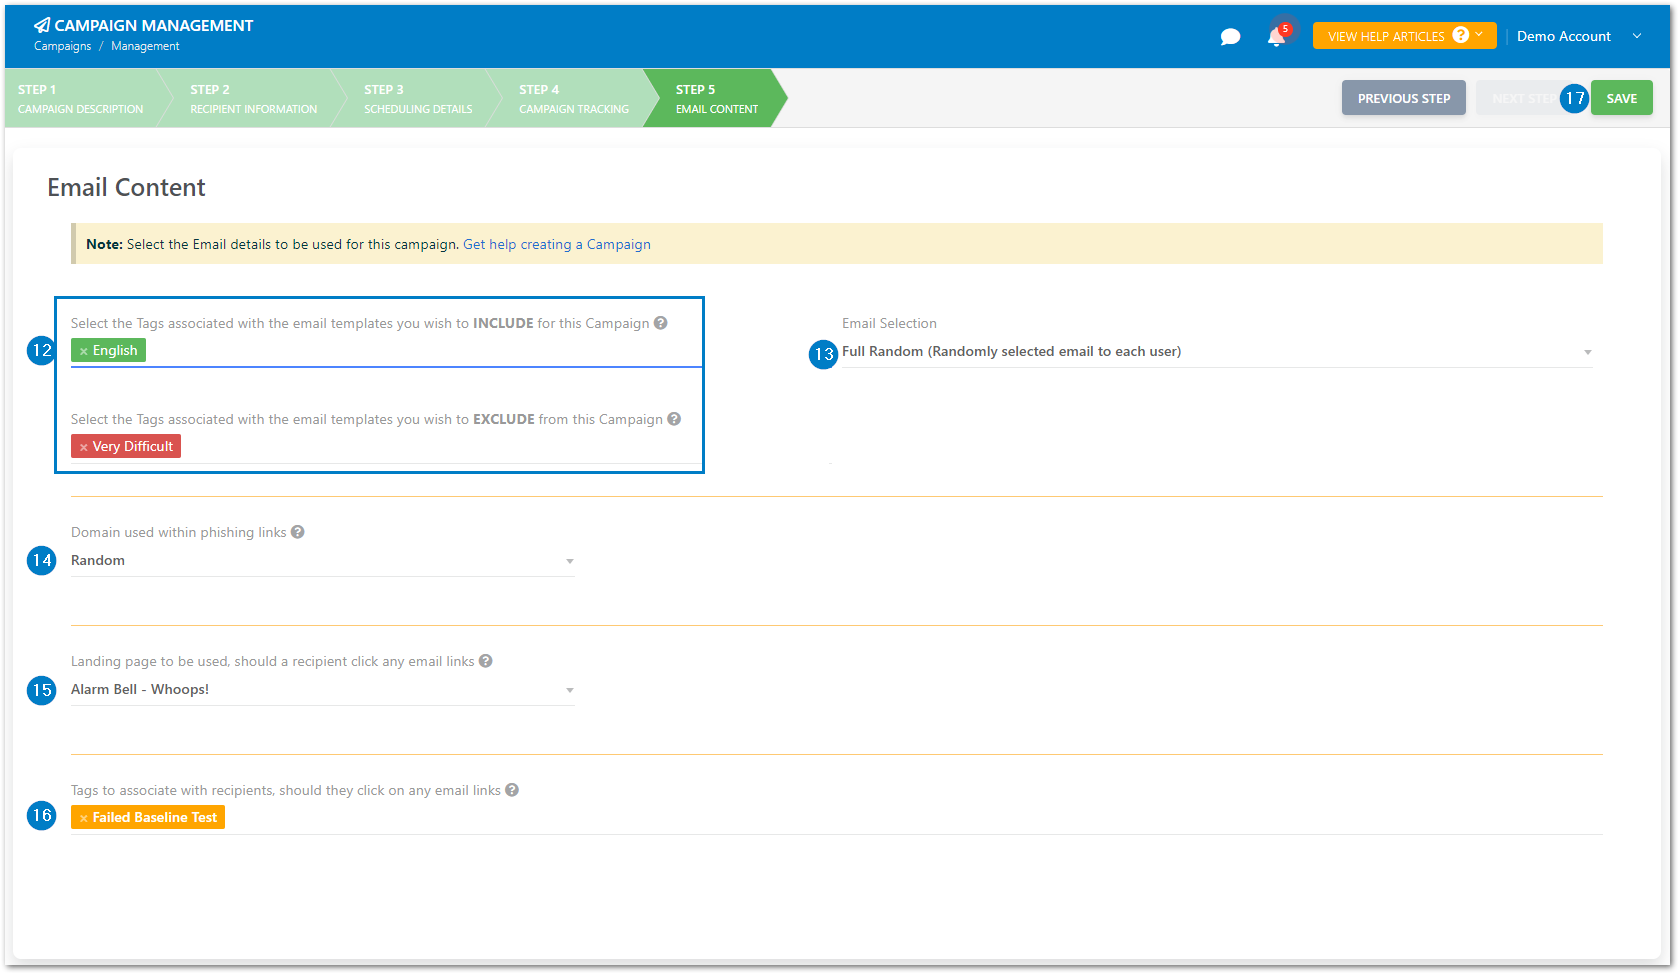
- Select the English Tag (if you'd like English emails. Naturally you can select any tag(s) you like here!).
- You can also Exclude any email tags you may not wish to include in your campaign (E.g. here shows "Very Difficult" tags excluded)
- Select Full Random
- This is prudent for campaigns sent immediately as staff will notice quickly if they all receive the same email at once
- Select Random Domain
- Select Alarm Bell - Whoops!
- This is the Landing Page Template we decided on in Step 5
- Select the Failed Baseline Test Tag we created in Step 2
- Click SAVE
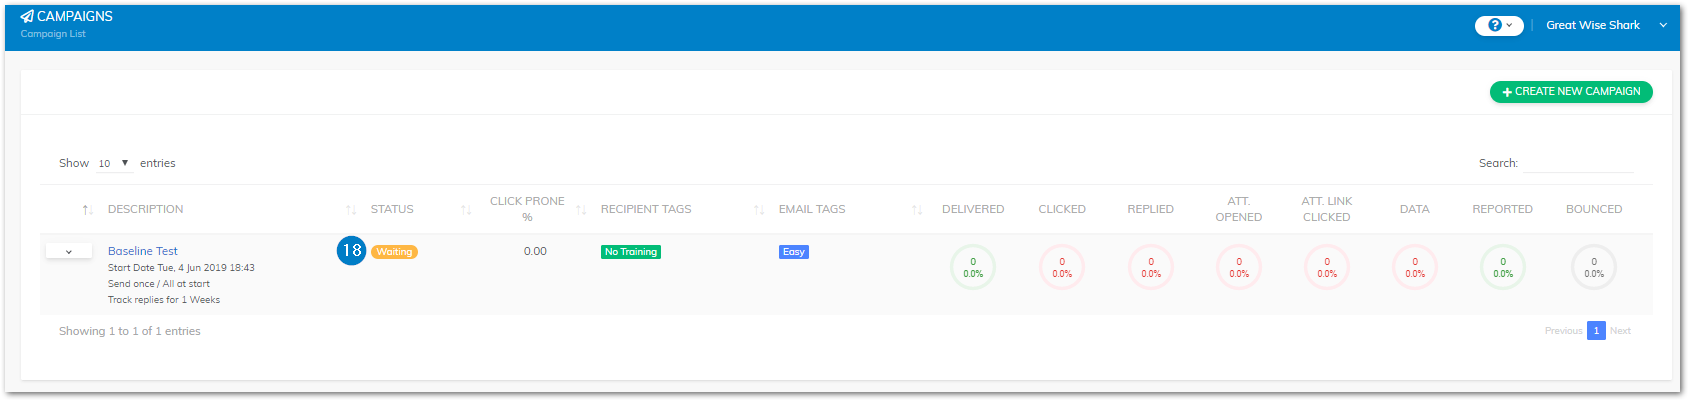
- You will see the status is "Waiting", all Campaigns are refreshed every 60 seconds so refresh after a minute or so and you will see it will have changed to "Started"
For further information on creating a phishing campaign, refer to this article.